Saturday, February 26, 2011

Shutter Love

The type of photography that I love is super close ups.. I love focusing on one small thing and everything else in the photo is blurry. I have a D3ooo and I really want to buy a Macro Lens for it. Anyways, I'm no professional but photography is a passion of mine :)

Girl's Ruffle Top

OK, so I will not be giving a step-by-step on how I did this because I had to change my plan while working {this fabric is really hard to work with..} and I actually did a pretty sloppy job. But it's OK because it turned out all right and maybe if you do something similar, you'll be more organized then I was :) I used these 2 onesies and some hot pink scraps from another project.
I added the ruffles {this took forever and a day} ;)
Then finally after way too much time spent of this one project, it was DONE! :)


Monday, February 21, 2011

{Fake} Knitter

I've tried teaching myself how to knit for a while and I just can't seem to get the hang of it.. So I cheat! I'm a cheater.. I went to Walmart and bought these Knifty Knitting Looms, some yarn and went to town! I've only made a couple beanies so far but I plan to make more..Or learn how to actually knit. ;)
Extra long beanie for my baby boy.
Beanie for my girl.
The orange one I made for Halloween.
So if you're anything like me, this cheater might be just for you ;)

Name Wall Hangings

Name wall hangings for my babies!

You will need:
-Wooden letters
-Ribbon
-Puff Paint
-Acrylic paints
-Staple gun

First, paint your letters.

Then I used the puff paint as an outline. Let dry.

Staple the ribbon to the back of the letters and hang up!

Oreo Cake {Simple}

I saw this picture of the "Oreo Cupcakes" on KaceysKitchen.com and thought it looked yummy. So when I was at the store trying to figure out what kind of cake to make my brother for his birthday.. It came to me. OREO CAKE!! And since I didn't have the recipe from KaceysKitchen.com, I had to wing it..
You will need:
-Chocolate cake mix
-2 things of White frosting
-Oreos

First thing I did was bake the cake. I used Devils Food cake but maybe a Dark Chocolate one might have been more Oreoy.. While the cake was baking and cooling, I used the food processor to turn 2 sleeves of Oreos into fine crumbs. I mixed the frosting with the crumbs of Oreos and frosted my cake. Then broke about 10 Oreos into half and placed them all over the top of the cake and done! Oreo cake that everyone loved :)
{Sorry this is not a very good picture of the cake.. We forgot to take a picture of it until it was almost gone lol.}

Saturday, February 19, 2011

Weekend To Do List

My babies are sick with colds and my husband is gone for the weekend but I am still going to try to fit in some crafts!
My to do list:

-Sewing project: Turn daughter's onesies into dresses
-Make a couple cute headbands
-Finish husband's military scrapbook
If I can get to just one of these, it'll be a miracle ;)
Wish me luck and have a great weekend!

Friday, February 18, 2011

Cupcake Fun

Last week was my sister-in-law's birthday dinner with my family and I was in charge of the cupcakes! I didn't have much time so I just did the box cake mix and frosting. But I wanted to make the cupcakes a little more festive then just some sprinkles.. So since my SIL is soo funny, I wanted to make these little picture sign things with some goofy pictures of her :)

You will need:
-A bunch of pictures from your computer
-Printer paper
-Construction or just colored paper
-Scissors
-Glue {Glue stick works best}
-Toothpicks


First I had to round up all the pictures I wanted on my computer, re-size & crop them, then print them out. {Note to self: Next time print them out on thicker paper then regular printer paper} Draw a circle on each picture and cut them out.

Cut out {preferably with zig-zag scissors} bigger circles then the pictures with a colored paper. I used colored printer paper but it would've come out better with construction paper..

Glue pictures to colored circles.


On the back side: Glue one end of the toothpick and another circle the same size as the pictures.

Once the glue drys, stick the opposite end of toothpicks into the cupcakes and you're done!
Happy Birthday Andi!


Wednesday, February 16, 2011

Valentine's Day Outfits

Holidays are a great excuse to make cute outfits then take a million pictures of your kids in them! ;) This year I have a goal to make all the kid's holiday outfits and it all starts with V-Day!

It's been a couple years since I've sewn anything so I'm just getting the hang of it again.. The next time I do this I think I will just do a straight stitch.. The zig-zag one was not working as well as I wanted.. Anyhow, here's what I did! :)

First, I figured out what shapes I wanted for the kids. I went with a "heart" for my daughter and a "tie" for my son. Then I cut out the patterns.
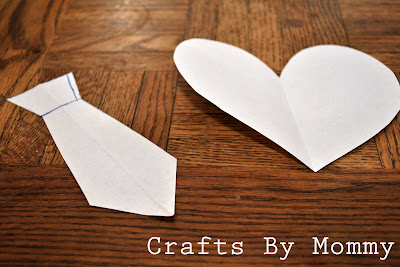
Then I used my cut-outs to cut my fabric.
{This fabric is actually from an old t-shirt from last Valentine's Day}

I pinned the cut fabric to the onezies and started sewing. It was harder then I thought {remember, I'm new at this again} but I got the job done :) See what I mean! All done and ready for the kids :)

I love the tie! You're defiantly going to be seeing more of that this year :)
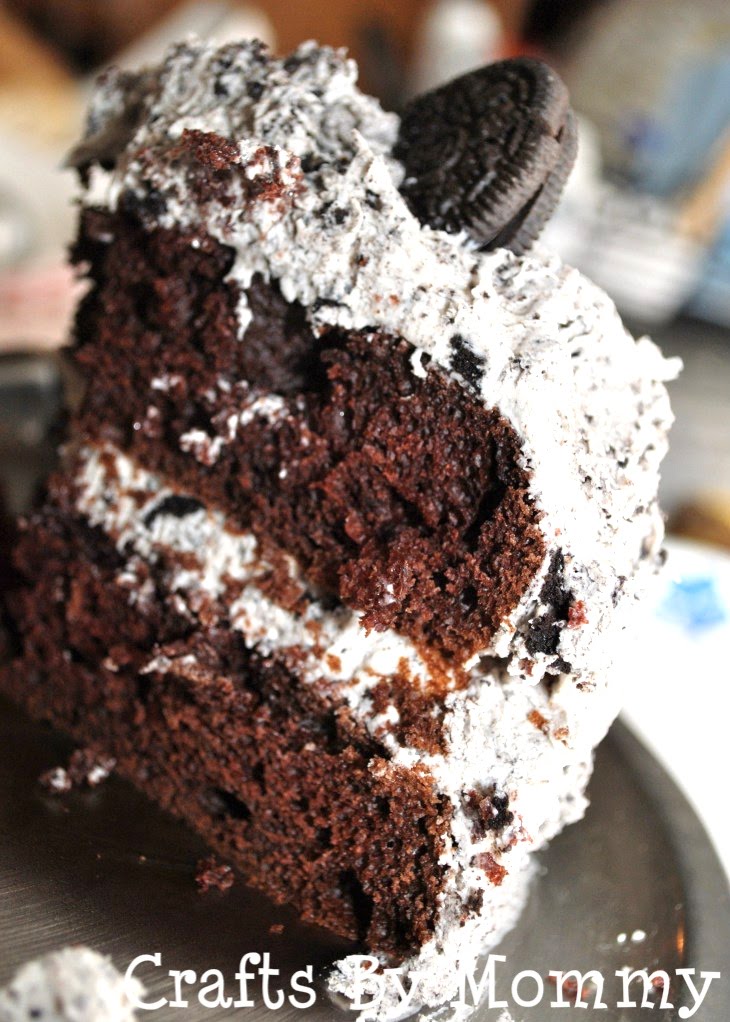
Monday, February 7, 2011

Easy Bath Toys


All you need is a pack of sponges and dental floss {that's what I was told to use but after making these, I'd recommend using a thin rubber band to keep them together}.

Take out your pack of sponges and cut them into slices... Use the dental floss {doubled up} to tie them together...
And done!! Really easy-to-make bath toys!

Toy Blocks

I believe I got the idea for this from Dejavu Crafts but I'm not sure.. Anyways, all you'll need is cardboard boxes {various sizes} from the dollar store, glue, paint & paint brushes.

The first thing I did was glue the lids to the boxes. I used a hot glue gun.

Then I painted the boxes. You can paint them any color and any way possible :)
Then I decorated each side a different way..
Let dry and they're ready for playtime! :)
My daughter loved them and they were fun for mommy to make :)